Windows Sandbox on Windows 11: A Hands-On Checklist
Enable Windows Sandbox quickly, avoid the PowerShell 7 and vGPU pitfalls, and use it day to day with .wsb files.
🚧 This post is under construction 🚧
TL;DR
- Windows Sandbox is a disposable VM built into Windows 11 Pro, Enterprise, and Education. Close the window and everything is gone.
- Check virtualization with
HypervisorPresent. - Enable the feature with
dism.exe, not withEnable-WindowsOptionalFeature(unreliable under PowerShell 7). - “Connection lost” on a hybrid-GPU laptop? Disable vGPU sharing with a registry value.
- Day to day: one
.wsbfile per test scenario. - Inside the Sandbox, we are always administrator. Disable networking and map folders read-only when testing untrusted software.
| Step | Command / action | Gotcha |
|---|---|---|
| Check virtualization | (Get-CimInstance Win32_ComputerSystem).HypervisorPresent | If False, enable Intel VT-x or AMD SVM in the BIOS/UEFI |
| Enable the feature | dism /online /Enable-Feature /FeatureName:Containers-DisposableClientVM /All | Enable-WindowsOptionalFeature fails under PowerShell 7 (“Class not registered”). Wait for 100% before rebooting |
| Fix “connection lost” | Registry: HKLM\SOFTWARE\Policies\Microsoft\Windows\Sandbox\AllowVGPU = 0 | The GPO node may be missing from gpedit.msc. Write the registry value directly |
| Daily use | One .wsb file per test scenario | One instance at a time, no persistence |
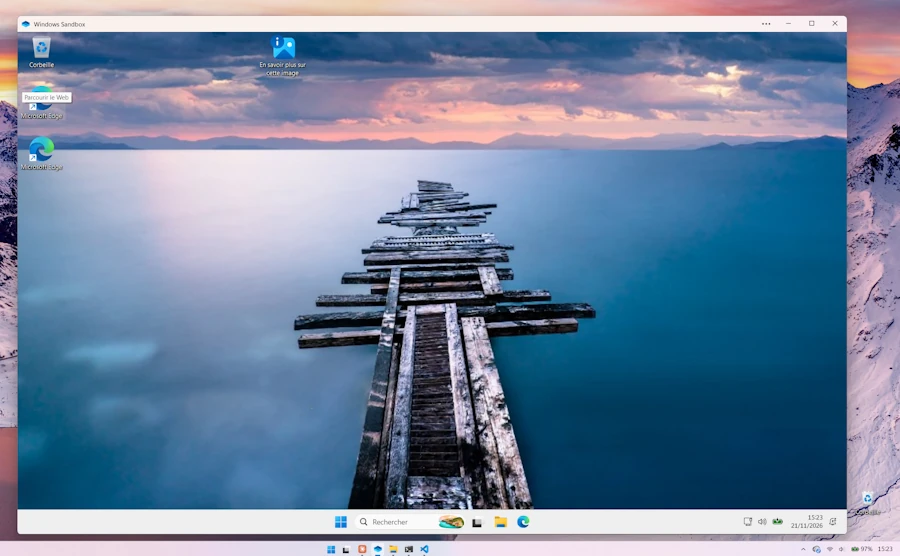
Table of Contents
- Prerequisites
- What Windows Sandbox Is (and Is Not)
- Step 1: Check That Virtualization Is Enabled
- Step 2: Enable the Windows Sandbox Feature
- Step 3: First Launch
- Step 4: Troubleshoot “The connection to the Windows Sandbox environment was lost”
- Step 5: Use It Day to Day
- Uninstall (If Needed)
- Conclusion
- Webliography
Prerequisites
This checklist was tested on the following configuration:
- OS: Windows 11 Pro. Windows Sandbox is not available on Windows 11 Home.
- Shell: PowerShell 7.7.0, run as Administrator unless stated otherwise.
- GPU: hybrid laptop setup, Intel Iris Xe (integrated) + NVIDIA GeForce RTX (discrete).
- RAM: 32 GB DDR5.
- Also installed: Docker Desktop (WSL2 backend).
The hybrid GPU and Docker Desktop matter: both play a role in the pitfalls below.
What Windows Sandbox Is (and Is Not)
- A lightweight, disposable virtual machine built into Windows 11 Pro, Enterprise, and Education.
- Use case: install an unknown piece of software, test it, close the window. The host system is untouched.
- No persistence. Closing the Sandbox window wipes everything.
- Exception: since Windows 11 22H2, data survives a restart initiated from inside the Sandbox. Handy for installers that need a reboot.
- Workaround: map a host folder with write access (see the
.wsbexample in Step 5). Anything written there stays on the real disk.
- One instance at a time. We cannot run several Sandboxes side by side.
- We can keep several
.wsbconfig files (one per test scenario), but each one starts a fresh, non-persistent Sandbox.
- We can keep several
- Nothing to clean up. Close the window and it is gone. Only mapped folders with write access keep data.
- Networking is on by default. Disable it in a
.wsbfile when testing anything suspicious. - Inside the Sandbox, we are always administrator. The session runs under a local account named
WDAGUtilityAccount, a member of the Administrators group, and every process starts elevated, with no UAC prompt. This is by design: the VM is disposable and isolated from the host by the hypervisor, so admin rights inside do not grant anything on the host. See the warning in Step 5.
Need persistent, side-by-side environments? Use Hyper-V VMs (included in Windows 11 Pro, with checkpoints) or Sandboxie-Plus (lighter, multiple persistent sandboxes, but weaker isolation).
Step 1: Check That Virtualization Is Enabled
- Run the checks:
# True = a hypervisor is running, so virtualization is enabled in firmware
(Get-CimInstance Win32_ComputerSystem).HypervisorPresent

# Look for "A hypervisor has been detected"
systeminfo | Select-String -Pattern "Hyper-V|hypervisor|hyperviseur"
- Expected result:
True, plus a line saying “A hypervisor has been detected. Features required for Hyper-V will not be displayed.” - Only if
HypervisorPresentisFalsedo we need to enable Intel VT-x or AMD SVM in the BIOS/UEFI.
Is there any reason to keep virtualization disabled? Not really, for a typical user. It is mostly a legacy manufacturer default. Windows 11 security features (memory integrity / HVCI, Credential Guard) rely on it anyway.
Step 2: Enable the Windows Sandbox Feature
Pitfall #1: PowerShell 7 and the DISM Cmdlets
The “obvious” command is:
Enable-WindowsOptionalFeature -Online -FeatureName "Containers-DisposableClientVM" -All
What went wrong on my machine:
- I rebooted while the command still showed
[Running, so the change never completed. - On the next attempt, PowerShell 7 returned
Class not registered(Classe non enregistréeon a French system), andGet-WindowsOptionalFeaturehung.
Why: the *-WindowsOptionalFeature cmdlets come from the DISM module, which was built for Windows PowerShell 5.1. It is unreliable under PowerShell 7.
The Fix: Call dism.exe Directly
- Close any hung PowerShell window and open a new elevated terminal.
- Check the feature state:
dism /online /Get-FeatureInfo /FeatureName:Containers-DisposableClientVM
- Enable it if it is disabled:
dism /online /Enable-Feature /FeatureName:Containers-DisposableClientVM /All
- Wait for 100%, then answer
Yto reboot. - If
dismhangs too: reboot once (a previous operation may still be pending), then retry. - If it still fails, repair the component store, then retry:
dism /online /Cleanup-Image /RestoreHealth
sfc /scannow
GUI alternative:
Win + R, typeoptionalfeatures, check Windows Sandbox, click OK, reboot.
Step 3: First Launch
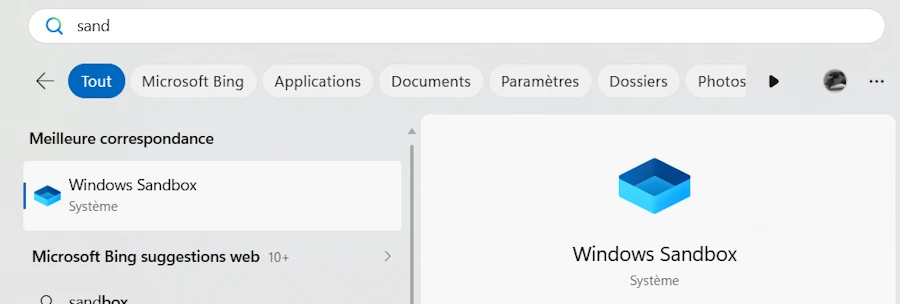
- Search for Windows Sandbox in the Start menu and launch it.
- (Optional) Check for the new CLI, available starting with Windows 11 24H2:
wsb --version
0.8.114.0 # on my machine today
- If
wsbis not recognized, we are on an older Sandbox version. The Sandbox still works fine. To get the newer version, run Windows Update, then go to Microsoft Store > Library > Get updates.
If the Sandbox window opens and stays open, jump to Step 5. Otherwise, read on.
Step 4: Troubleshoot “The connection to the Windows Sandbox environment was lost”
Pitfall #2: The Sandbox Starts, then Disconnects
Symptom: every time, a warning dialog shows up saying “The connection to the Windows Sandbox environment was lost. Do you want to reconnect?”
Things I Ruled Out
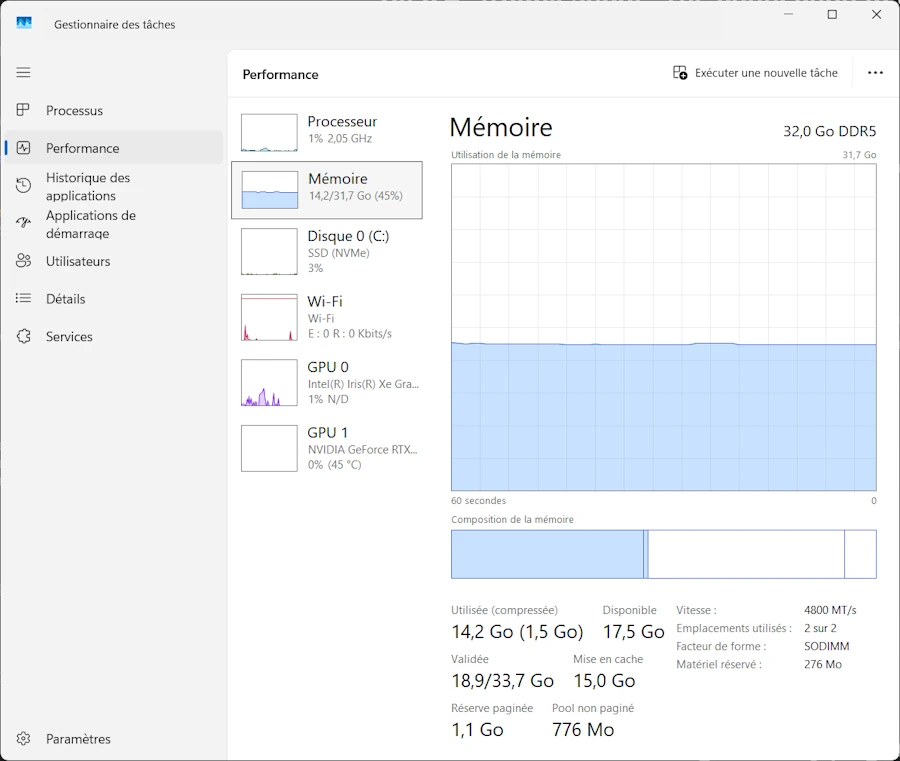
- Memory. Task Manager (CTRL+SHIFT+ESC) showed 31.7 GB usable out of 32 GB (276 MB hardware-reserved, which is normal) and 18.6 GB available. Not the issue. If Docker/WSL2 is running and RAM is tight, free some memory first:
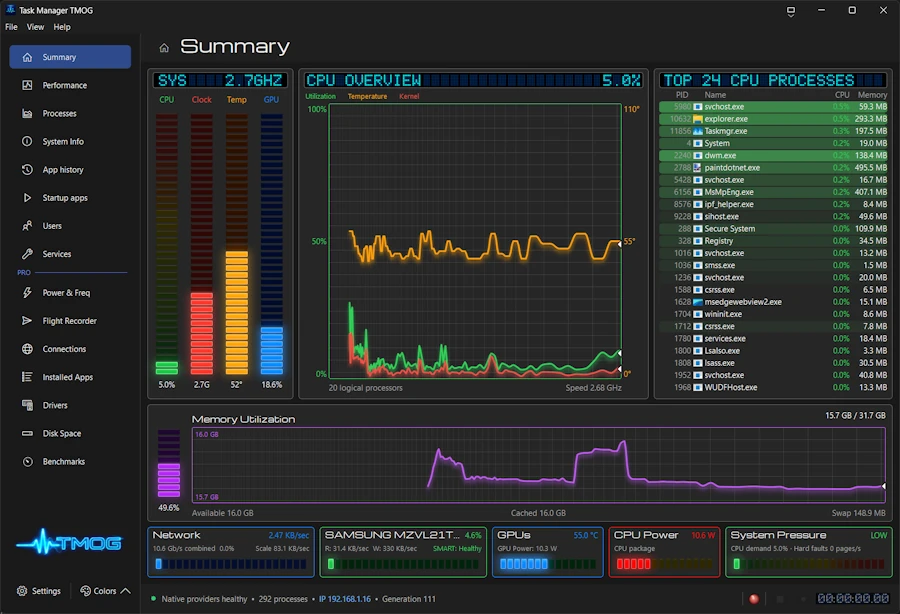
Did you ever try TMOG ?
wsl --shutdown
-
A
.wsbfile with vGPU disabled. - Create a new file
test.wsbon the desktop - Add the following content then save it
- Double click on it and see what happens
<Configuration>
  <VGpu>Disable</VGpu>
  <MemoryInMB>4096</MemoryInMB>
</Configuration>
It did not help in my case.
- Restarting the related services (optional):
Restart-Service vmcompute, CmService -Force
The Fix: Disable vGPU Sharing via Policy (Registry)
On a hybrid-GPU laptop (Intel Iris Xe + NVIDIA RTX), GPU sharing with the Sandbox (vGPU) is the usual suspect. The normal route is a Group Policy setting:
gpedit.msc > Computer Configuration > Administrative Templates > Windows Components > Windows Sandbox > Allow vGPU sharing for Windows Sandbox > Disabled
Pitfall #3: the Windows Sandbox node was missing from
gpedit.mscon my machine (no ADMX template installed).
No need to create it. A Group Policy setting is just a registry value, so we can write it directly.
- In an elevated PowerShell:
# Policy key used by the "Allow vGPU sharing for Windows Sandbox" GPO
$key = "HKLM:\SOFTWARE\Policies\Microsoft\Windows\Sandbox"
New-Item -Path $key -Force | Out-Null
New-ItemProperty -Path $key -Name "AllowVGPU" -Value 0 -PropertyType DWord -Force
- Apply it with
gpupdate /force, or simply reboot. - Launch Windows Sandbox. It works, both from the Start menu and with a
.wsbfile. Since the policy is system-wide, the custom config file is no longer needed for this issue. - To revert later:
Remove-ItemProperty -Path "HKLM:\SOFTWARE\Policies\Microsoft\Windows\Sandbox" -Name "AllowVGPU"
If It Still Does Not Work
- Check Event Viewer > Applications and Services Logs > Microsoft > Windows > Hyper-V-Compute > Admin (and Windows Logs > Application) for an error code (
0x8007...). - Check the build number. Some Windows 11 builds shipped with known Sandbox bugs:
[System.Environment]::OSVersion.Version
- Last resort: Settings > System > Recovery > Fix problems using Windows Update. This is an in-place repair that keeps files and apps.
Step 5: Use It Day to Day
Everything we run in the Sandbox runs as administrator. Opening PowerShell, for example, always gives an elevated prompt. Even if you try to open it with
WIN+X, I. The hypervisor protects the host, but a malicious program has full rights inside the Sandbox: it can write to any mapped folder opened in write mode and use the network if it is enabled. When testing untrusted software, disable networking and map folders read-only.
To check the account and elevation level from inside the Sandbox:
whoami
# Expected: <computer-name>\wdagutilityaccount

whoami /groups | Select-String "Administrators|Mandatory Label"
# "High Mandatory Level" means the process is elevated
- Quick test: launch Windows Sandbox, copy-paste the installer into the Sandbox window, install, test, close the window. Everything is gone.
- One
.wsbfile per scenario, for exampleTest-AppA.wsb, with networking off and a shared folder:
<Configuration>
  <Networking>Disable</Networking>
  <MappedFolders>
    <MappedFolder>
      <HostFolder>C:\Sandbox\AppA</HostFolder>
      <SandboxFolder>C:\Test</SandboxFolder>
      <ReadOnly>false</ReadOnly>
    </MappedFolder>
  </MappedFolders>
  <LogonCommand>
    <Command>explorer.exe C:\Test</Command>
  </LogonCommand>
</Configuration>
- Double-click the
.wsbfile to start a Sandbox with those settings. - Use
<ReadOnly>true</ReadOnly>when the mapped folder only holds installers, so the Sandbox cannot write back to the host. - On Windows 11 24H2+, script it with the CLI:
wsb start,wsb list,wsb exec,wsb stop.
Uninstall (If Needed)
dism /online /Disable-Feature /FeatureName:Containers-DisposableClientVM
Reboot when prompted.
Conclusion
Once the two traps are out of the way (DISM cmdlets under PowerShell 7, vGPU sharing on a hybrid-GPU laptop), Windows Sandbox becomes a zero-maintenance tool: double-click a .wsb file, test, close. For anything that must survive the session or run side by side, switch to Hyper-V.
Webliography
- WSL 2 - Windows Subsystem for Linux
- Windows Sandbox overview (Microsoft Learn)
- Use and configure Windows Sandbox (.wsb files) (Microsoft Learn)
- Windows Sandbox command line interface (Microsoft Learn)