How to Deploy Your Rust API on Heroku (The Easy Way)
TL;DR
- A step by step recipe to deploy your first Rust API on Heroku
- I suppose Rust, VSCode and Heroku CLI are installed
- I use Windows 11 but the process is similar if you live in Linux or Apple land.
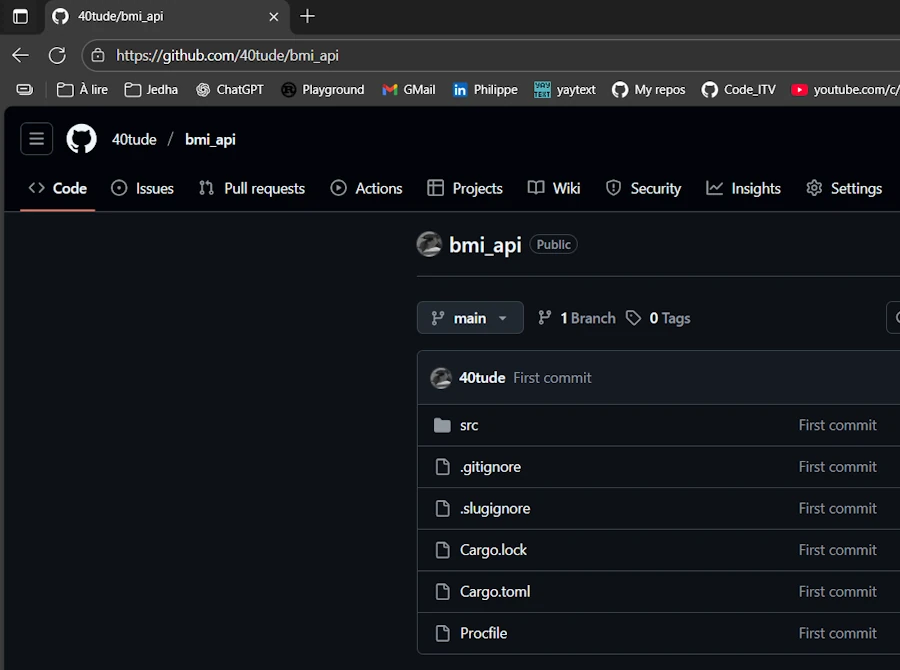
- The project is on GitHub

Table of Contents
- Build the API
- Prepare for Heroku
- Push on Heroku
- Client (Rust)
- Reduce the size of the app on Heroku
- Conclusion
Build the API
The API is simple. It returns your bmi (body mass index) once it received your height and weight.
In the parent directory of the project, open a terminal (WIN + X then I) then enter the following commands
cargo new bmi_api
cd bmi_api
code .
In VSCode, open the integrated terminal (CTRL + ù)
cargo add axum
cargo add axum_server
cargo add serde --features derive
cargo add tokio --features full
Cargo.toml should now be similar to :
[package]
name = "bmi_api"
version = "0.1.0"
edition = "2024"

[dependencies]
axum = "0.8.4"
axum-server = "0.7.2"
serde = { version = "1.0.219", features = ["derive"] }
tokio = { version = "1.47.1", features = ["full"] }
Open and review the file main.rs. It looks like :
use axum::{Json, Router, routing::post};
use axum::{http::StatusCode, response::IntoResponse};
use serde::{Deserialize, Serialize};
use std::net::SocketAddr;
// Structure for request body
#[derive(Deserialize)]
struct BmiRequest {
height: f32, // in meters
weight: f32, // in kilograms
}
// Structure for response body
#[derive(Serialize)]
struct BmiResponse {
bmi: f32,
}
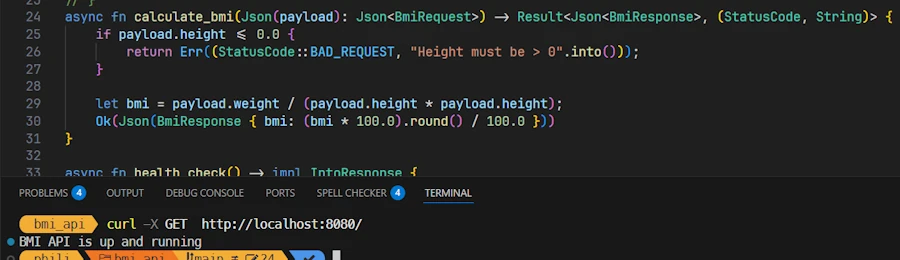
// Handler for the /bmi endpoint
async fn calculate_bmi(Json(payload): Json<BmiRequest>) -> Result<Json<BmiResponse>, (StatusCode, String)> {
if payload.height <= 0.0 {
return Err((StatusCode::BAD_REQUEST, "Height must be > 0".into()));
}
let bmi = payload.weight / (payload.height * payload.height);
Ok(Json(BmiResponse { bmi: (bmi * 100.0).round() / 100.0 }))
}
// Handler for the / endpoint
async fn health_check() -> impl IntoResponse {
(StatusCode::OK, "BMI API is up and running")
}
#[tokio::main]
async fn main() {
// Define the router and route
let app = Router::new().route("/bmi", post(calculate_bmi)).route("/", axum::routing::get(health_check));
// Heroku provides $PORT env variable
let port = std::env::var("PORT").unwrap_or_else(|_| "8080".to_string()).parse().expect("PORT must be a number");
let addr = SocketAddr::from(([0, 0, 0, 0], port));
println!("Listening on {addr}");
axum_server::bind(addr).serve(app.into_make_service()).await.unwrap();
}
Let’s make a test locally. In VSCode, in the integrated terminal enter the following command :
cargo run
Local test with a web browser
http://localhost:8080/
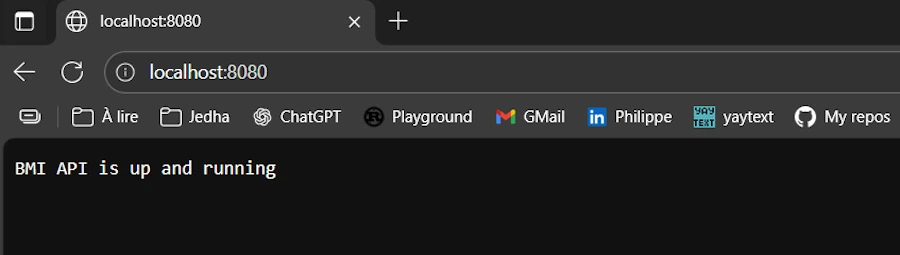
This is http, NOT https.
Local test with Curl
curl -X GET http://localhost:8080/
Local test with Curl
curl -X POST http://localhost:8080/bmi -H "Content-Type: application/json" -d '{"height": 1.69, "weight": 71.0}'

Prepare for Heroku
The aim of the game is
- To have a repo on GitHub to host our project (business as usual)
- Similarly, to have a repo on Heroku in order to provide to Heroku what is needed to build and run the API server. Once everything will be configured we will only have to “push” on Heroku, and let it work (build and run the server).
Create a Procfile file
- The
Procfilemust be at the root of the project and it explains how to build and start the app - It is mandatory here since applications made with Rust do not follow a standard “buildpack”
Procfilecontains one line :web: ./target/release/bmi_apiweb: kind of process (here, web server)./target/release/bmi_api: the command to execute to start the app
Create a .slugignore file
- Similar to
.gitignorethis helps to send to Heroku only what is needed - At this point
.slugignoreshould be similar to :
/.git
/target
README.md
It is time to commit on GitHub. You can either use the integrated terminal or use VSCode features.
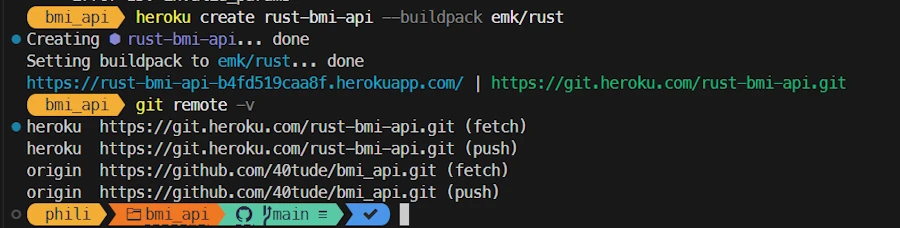
If not yet done, it is time to install Heroku CLI. Heroku does not allow “_” in project name. So make sure to use “-“ to name your project instead. In VSCode integrated terminal type :
heroku create rust-bmi-api --buildpack emk/rust
In the line above, note that the name on the Heroku’s dashboard is rust-bmi-api (with -) but the app (the API/web server) is named bmi_api. You can double check Cargo.toml and/or Procfile.
Let’s double check which gits are configured for this project.
git remote -v
You should see, something like to :
heroku  https://git.heroku.com/rust-bmi-api.git (fetch)
heroku  https://git.heroku.com/rust-bmi-api.git (push)
origin  https://github.com/40tude/bmi_api.git (fetch)
origin  https://github.com/40tude/bmi_api.git (push)
Push on Heroku
It might be a bit tricky because of the identification process. Indeed, Heroku no longer accepts passwords for git push. We must use the Heroku token as our password. You can read the page. Once the token (see below how to get one) is entered, check “Remember” so you don’t have to do it again.
Let’s get a token :
heroku auth:token
Select and copy the token. Now, we can push on Heroku :
git push heroku main
When the dialog box popup, enter ANY name and paste the token. Files are sent, the build process starts and the server is launched.
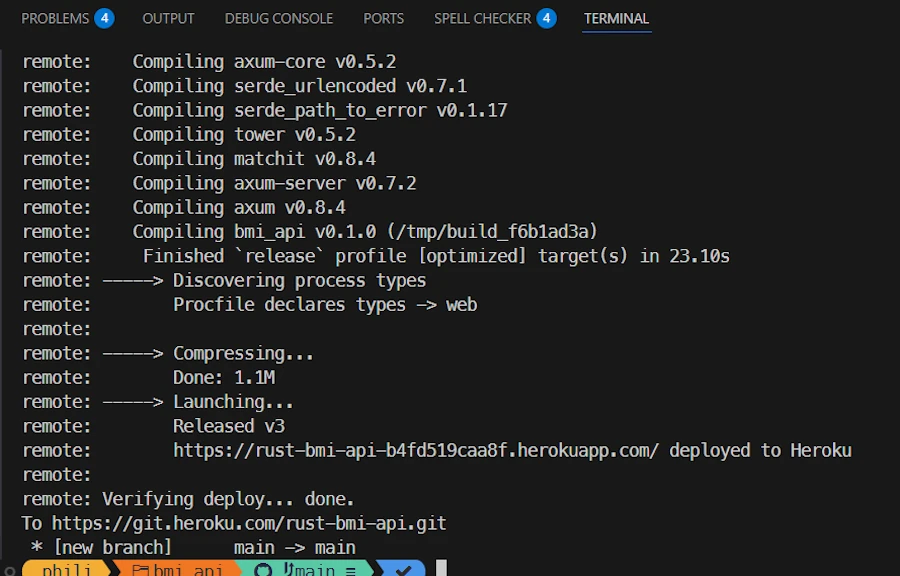
At the end of the build, select and copy the URL. Here : https://rust-bmi-api-b4fd519caa8f.herokuapp.com/
Test with a web browser
Paste the copied URL in your browser (here, https://rust-bmi-api-b4fd519caa8f.herokuapp.com/). You should see :
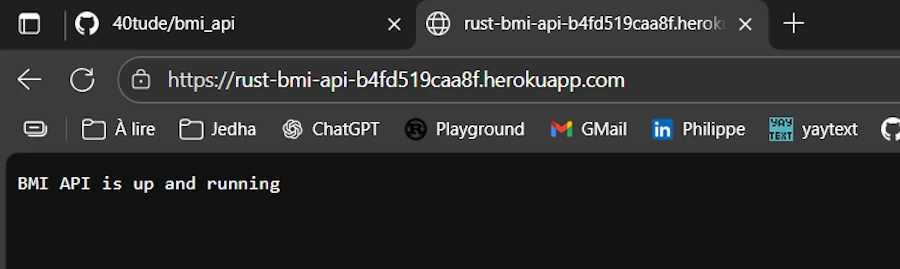
Please note this is now https and NOT http.
Test with Curl
curl -X POST https://rust-bmi-api-b4fd519caa8f.herokuapp.com/bmi -H "Content-Type: application/json" -d '{"height": 1.69, "weight": 71.0}'

Client (Rust)
Let’s write a client in Rust. In VSCode, in the integrated terminal type in :
cargo add reqwest --features json
Review examples/client.rs. It should looks like :
use serde::{Deserialize, Serialize};

// Structure for request payload
#[derive(Serialize)]
struct BmiRequest {
    height: f32,
    weight: f32,
}

// Structure for response payload
#[derive(Deserialize)]
struct BmiResponse {
    bmi: f32,
}

#[tokio::main]
async fn main() -> Result<(), Box<dyn std::error::Error>> {
    let url = "https://rust-bmi-api-b4fd519caa8f.herokuapp.com/bmi";

    // Example data
    let request_body = BmiRequest { height: 1.69, weight: 69.0 };

    // Create the HTTP client
    let client = reqwest::Client::new();

    // Send the POST request with JSON body
    let response = client.post(url).json(&request_body).send().await?;

    // Ensure status is OK
    if !response.status().is_success() {
        eprintln!("Request failed with status: {}", response.status());
        return Ok(());
    }

    // Deserialize JSON response
    let bmi_response: BmiResponse = response.json().await?;

    println!("BMI = {:.2}", bmi_response.bmi);

    Ok(())
}
In the code above you may have to modify the hard coded url (see the line let url = "https://rust-bmi-api-b4fd519caa8f.herokuapp.com/bmi";) with the one corresponding to your server.
Since there is no need to send the code of the client to Heroku, add /examples to .slugignore. It now should looks like :
/.git
/target
README.md
/examples
It is time to run the client locally and see if it can contact the API on Heroku. In the integrated terminal type in :
cargo run --example client

Reduce the size of the app on Heroku
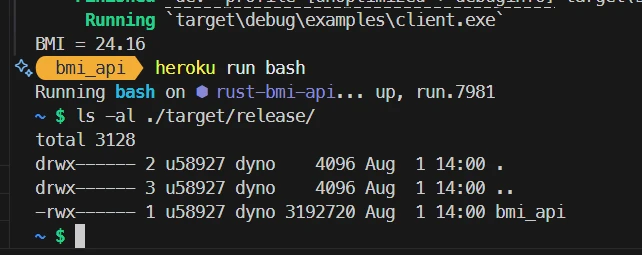
You can see which files have been deployed and built on Heroku. In VSCode integrated terminal type in :
heroku run bash
Once the $ sign is available, type ls -al ./target/release/. The server is 3MB. Pretty fat…
$ ls -al ./target/release/
total 3128
drwx------ 2 u58927 dyno    4096 Aug  1 14:00 .
drwx------ 3 u58927 dyno    4096 Aug  1 14:00 ..
-rwx------ 1 u58927 dyno 3192720 Aug  1 14:00 bmi_api
$ exit
In order to reduce the size of the application we can add the following sections in Cargo.toml
[profile.release]
strip = "symbols"
- Then we commit to GitHub
- Finally, we push onto Heroku (
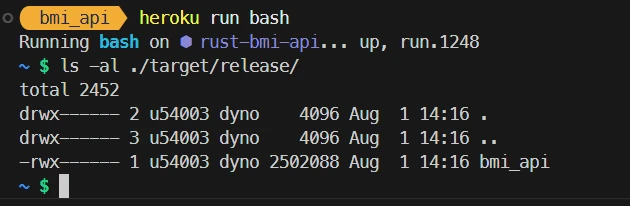
git push heroku main) - When the API server is up and running we can check its new size
heroku run bash
$ ls -al ./target/release/
total 2452
drwx------ 2 u52596 dyno    4096 Jul 31 17:10 .
drwx------ 3 u52596 dyno    4096 Jul 31 17:10 ..
-rwx------ 1 u52596 dyno 2502088 Jul 31 17:10 bmi_api
$ exit
Conclusion
- Again the is just a check list
- The point was NOT to explain the code of API server (it is similar to what can be done with FastAPI in Python)
- The idea was to show how to setup a Rust project so that it can be tested locally and easily pushed on Heroku
- I hope this will help to start
In the next episode (Episode 2/2) we will see how to add testing and to push on Heroku only when the tests are OK. This will requires a reorganization among the files so I prefer to stop here for now.